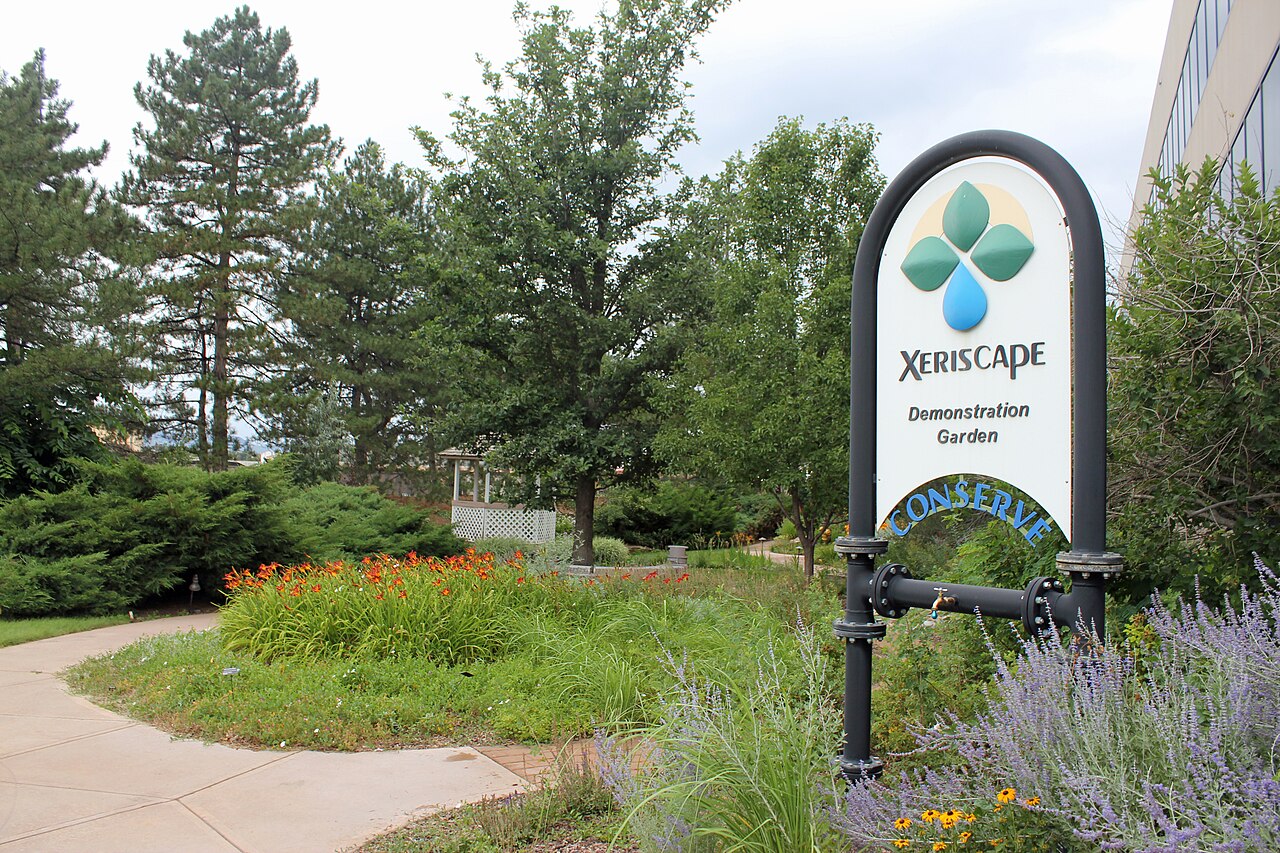
Xeriscaping for Beginners: A Practical 7-Step System for Water-Smart Yards
Xeriscaping for beginners means designing your yard in water-use zones so every plant gets the right amount of irrigation instead of one schedule for everything. The biggest performance gain usually comes from combining hydrozoning, drip irrigation, and mulch depth standards rather than replacing every plant at once.
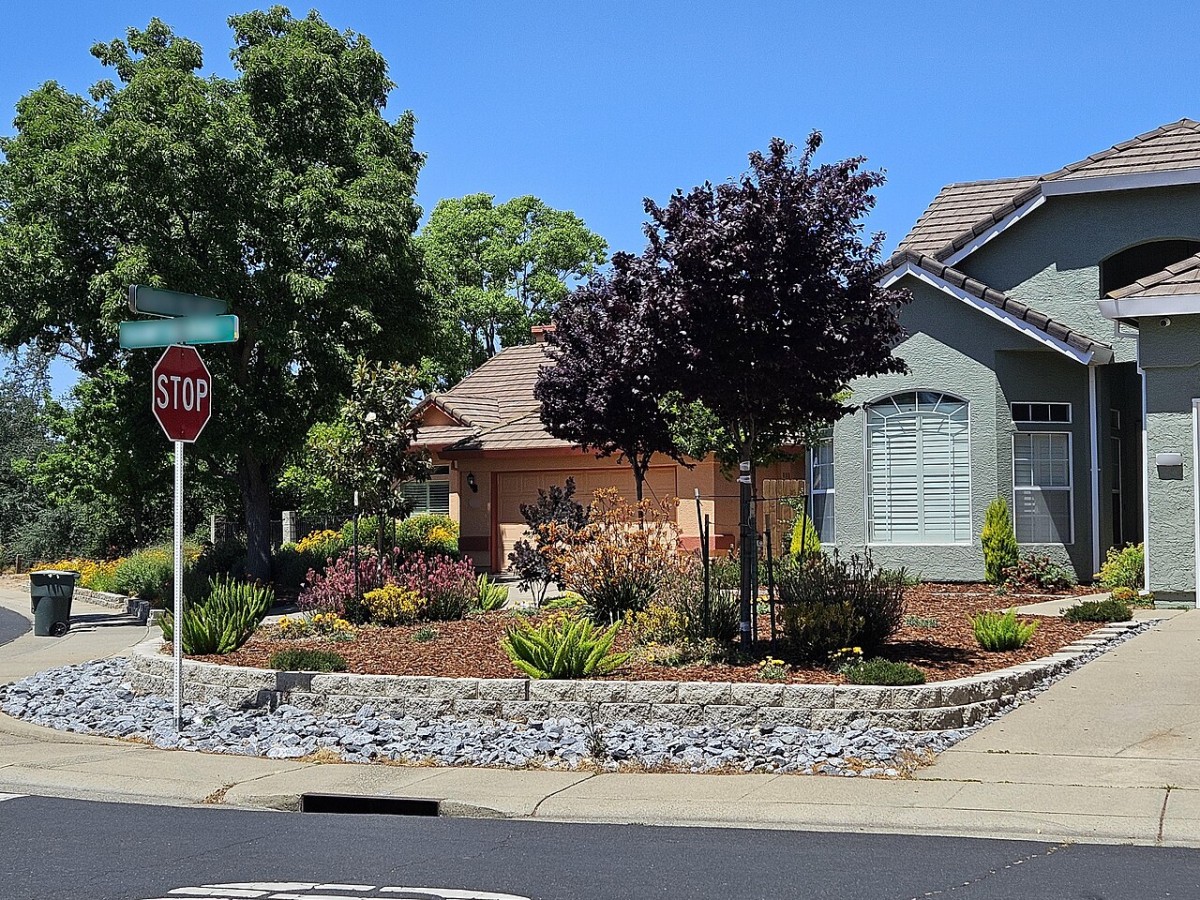
Xeriscaping for beginners works best when you treat it as a planning framework, not a single product or a decorative style, and that is why low water landscaping projects with clear zones outperform random drought-tolerant swaps. A successful conversion starts with a site map, irrigation audit, and a plant list grouped by water demand so your highest-use areas stay functional while the rest of the yard shifts toward climate-adapted planting.
Many homeowners assume xeriscape front yard ideas are either expensive full-yard tear-outs or rock-heavy designs that reduce curb appeal. In practice, phased retrofits produce better results: keep the useful turf where people actually use it, replace weak irrigation zones first, and build outward with plant communities that share soil and water needs. This is easier to maintain and easier to budget than one major install weekend.
Why Is Xeriscape Design Different From Simple Drought Planting?
Plant choice matters, but design decisions determine whether the landscape actually saves water year after year. Water-efficient landscapes that fail usually share one issue: irrigation zones do not match plant needs. A thirstier patch of turf, a shrub bed, and a dry native bed often get scheduled together, so at least one area is overwatered. Over time that creates runoff, fungal pressure, and higher maintenance despite using "water-wise" plants.
Xeriscape design fixes this with hydrozoning. You organize the property by sunlight, slope, and expected plant demand, then pair each zone with targeted irrigation delivery. This makes watering intervals easier to manage and prevents the common pattern where one problem corner forces the whole yard into daily irrigation.
| System Feature | Traditional Mixed Bed | Xeriscape Approach | Operational Result |
|---|---|---|---|
| Irrigation scheduling | One broad timer for many plant types | Separate zones by water demand | Lower runoff and fewer stress cycles |
| Plant selection | Appearance-first | Climate and soil match first, appearance second | Higher survival after year one |
| Mulch strategy | Thin decorative layer | Functional depth and renewal schedule | Reduced evaporation and weed pressure |
| Maintenance | Frequent correction pruning and reseeding | Seasonal checklist with measured adjustments | More predictable labor and costs |
When you already maintain raised beds nearby, pair this framework with mulch and evaporation control in vegetable beds so all outdoor watering follows one consistent efficiency standard.
What Are the Seven Principles of Xeriscaping and How Do You Apply Them?
The common seven-principle model is straightforward: plan and design, improve soil, reduce unnecessary turf, irrigate efficiently, select and group plants by need, mulch, and maintain. The mistake is applying them as disconnected tasks. In a real yard, each principle affects the next one. If planning is weak, irrigation cannot be efficient. If soil prep is skipped, plants need more frequent rescue watering. If mulch depth is inconsistent, your schedule drifts upward during heat waves.
Principle-by-principle implementation sequence
- Plan and design: map sun exposure, drainage direction, utility lines, and high-use foot traffic zones.
- Soil strategy: test texture and infiltration; avoid blanket amendments without a purpose.
- Turf decisions: retain functional turf, retire ornamental turf that consumes water without adding use value.
- Efficient irrigation: use lower-flow delivery and zone-specific runtime targets.
- Right plant, right place: group species by mature size and water demand.
- Mulch: stabilize soil moisture and reduce heat loading around roots.
- Maintenance: run seasonal checks before problems scale.
The value of this model is predictability. You can estimate cost, labor, and water reduction potential before major purchases, which is exactly what most homeowners need when converting a conventional yard in phases.
How Much Does Xeriscaping Cost for a Typical Home Yard?
Cost depends more on hardscape and irrigation retrofit depth than on plants alone. Homeowners often overestimate plant costs and underestimate grading, edging, emitter layout, and labor for old turf removal. A practical budget starts by segmenting the yard into conversion phases with clear square footage targets. This prevents scope creep and lets you compare contractor bids line by line.
Example phased budget model (front yard, 800 sq ft)
| Phase | Scope | Typical Range | Primary Cost Driver |
|---|---|---|---|
| Phase 1 | Design, zone mapping, irrigation audit | $250-$1,200 | Consulting and mapping detail |
| Phase 2 | Turf removal and grading corrections | $1.50-$4.00/sq ft | Disposal and regrade complexity |
| Phase 3 | Drip conversion and controller updates | $2.00-$6.00/sq ft served | Emitter layout and valve changes |
| Phase 4 | Plant installation and mulch | $3.00-$12.00/sq ft planted | Plant density and material quality |
| Phase 5 | Year-one maintenance and tuning | $200-$1,200 total | Weed pressure and pruning intensity |
If you run a mixed edible-and-ornamental layout, compare this budget process with raised bed soil planning and fill calculations so irrigation and soil investment stay aligned across the property.
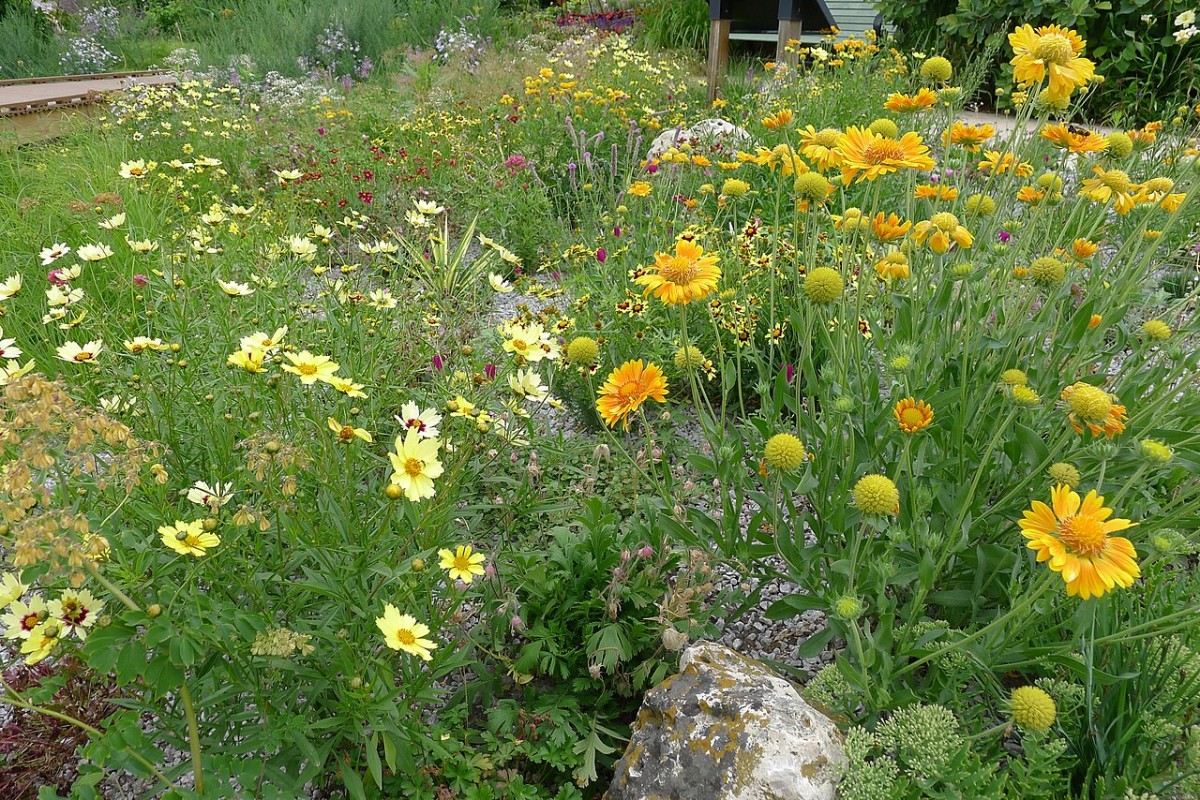
What Plants Are Best for Xeriscaping and How Should You Group Them?
The highest-performing xeriscapes rely on plant communities rather than isolated specimen plants. Grouping by water demand, root depth, and mature canopy size is more important than choosing a single "best" species list. A low-water shrub beside thirsty annuals forces constant compromise; either the shrub stays too wet or the annuals decline. Grouping fixes that conflict before it starts.
Hydrozone structure that scales
Zone A (high-use entry or seating): moderate-water ornamentals and seasonal accents where visual impact is most important.
Zone B (transition beds): low-to-moderate water perennials and grasses that bridge aesthetics and resilience.
Zone C (outer perimeter): low-water shrubs, native grasses, and groundcovers designed for infrequent deep irrigation.
| Criteria | Why It Matters | Minimum Standard | Failure Signal |
|---|---|---|---|
| Sun exposure map | Controls evapotranspiration demand | AM/PM shading notes for each zone | Frequent leaf scorch in one bed section |
| Mature spacing | Reduces crowding and rework | Design to mature width, not nursery pot size | Heavy annual pruning to keep paths clear |
| Emitter match | Improves distribution uniformity | Flow rates matched within each zone | Localized runoff and dry pockets |
| Mulch depth | Stabilizes moisture and suppresses weeds | Consistent depth target after settlement | Rapid surface drying after irrigation |
For homeowners already using smart timers, cross-reference this section with WaterSense-oriented controller setup guidance so irrigation runtimes reflect actual hydrozones instead of legacy lawn schedules.
Can You Do Xeriscaping in Clay Soil Without Drainage Problems?
Yes, but clay requires tighter process control. Clay-dominant yards infiltrate more slowly, so runoff risk rises if emitter flow is high or if slope transitions are abrupt. Many failures labeled as "bad plants" are actually hydraulic mismatches where water is delivered faster than soil can accept it. This is solvable through lower emitter rates, longer soak windows, and improved surface grading.
Avoid over-amending entire yards with compost as a universal fix. Localized amendment zones can create abrupt texture transitions, where water stalls at boundaries instead of moving evenly through the profile. A better approach is selective soil improvement in planting pockets plus stable mulch coverage and infiltration testing in representative spots.
In slow soils, consistent low-rate application and spacing discipline usually outperform high-volume watering, even when total weekly gallons are similar.
Clay-soil guardrails
- Use smaller emitter outputs and staggered runtime cycles to reduce immediate surface pooling.
- Keep planting crowns slightly above surrounding grade where seasonal saturation is likely.
- Stabilize slopes and down-gradient edges before the first heavy irrigation cycle.
- Document drawdown time after watering so controller adjustments are evidence-based.
If you also manage runoff from roofs and hardscape, pair this with rain garden sizing and overflow planning to keep excess water moving away from planted xeric zones during storm peaks.
How Do You Maintain a Xeriscape Yard Without Losing Water Savings?
Low-maintenance does not mean no-maintenance. Xeriscape maintenance is lighter than conventional lawn-heavy yards, but it still needs seasonal checks to protect efficiency. The largest long-term leaks are usually unnoticed irrigation drift, mulch thinning, and early weed escape in open planting gaps. A short checklist each season prevents most of the expensive corrections people associate with "failed xeriscapes."
Seasonal maintenance framework
| Season | Primary Task | Target Outcome | Time Requirement |
|---|---|---|---|
| Spring | Emitter flush, valve check, light structural pruning | Uniform irrigation before heat arrives | 2-5 hours per 1,000 sq ft |
| Early summer | Weed pass, mulch touch-up, runtime tune | Lower evaporation and reduced weed seed set | 1-3 hours per month |
| Late summer | Stress scouting by hydrozone | Correct targeted problems without overwatering all zones | 1-2 hours per month |
| Fall | Cutback strategy and soil cover reset | Winter-ready structure and protected root zone | 2-4 hours total |
| Winter | Controller review and hardware inspection | Fewer startup failures next spring | 1-2 hours total |
For large properties with mixed tool use, use this alongside heat-safe outdoor work planning so maintenance blocks are realistic for peak summer conditions.
Step-by-Step: Xeriscaping for Beginners in One Season
If you want a practical launch plan, run this as a five-stage seasonal sequence. This keeps workload manageable, creates visible progress, and reduces mistakes from rushed plant buying before design and irrigation are ready.
Stage 1: Audit and mapping (week 1-2)
Measure irrigated square footage, mark sun exposure windows, and identify runoff paths after watering. Photograph weak zones that brown out quickly or puddle, since those locations often drive your first conversion wins.
Stage 2: Zone definition and budget lock (week 2-3)
Assign each yard area to a water-demand tier and set conversion order. Build a line-item budget with separate totals for removal, irrigation, planting, and contingency. This prevents irrigation costs from silently consuming the plant budget.
Stage 3: Infrastructure first (week 3-5)
Complete grading corrections, adjust controller zones, and pressure-test irrigation before planting. A fully planted bed should never be your test environment for valve or emitter troubleshooting.
Stage 4: Plant and mulch installation (week 5-8)
Install from larger structural plants to smaller fillers so spacing stays deliberate. Water in by hydrozone, not by full-yard timer. Apply mulch after final grade check so depth remains uniform.
Stage 5: First-90-day tuning (week 8-20)
Track drawdown and plant response every two weeks, then adjust runtimes zone by zone. Keep notes on stress signals rather than increasing all zones at once. This protects savings while improving establishment rates.
Common Xeriscaping Mistakes That Increase Water Use
The first mistake is replacing turf without fixing irrigation logic. If old high-frequency schedules stay in place, new plantings still waste water. The second is under-mulching. Thin or patchy mulch causes faster evaporation and weed pressure, both of which drive extra irrigation time. The third is over-planting small nursery stock too tightly, then fighting crowding with aggressive pruning and stress watering by year two.
Another frequent issue is skipping measurement. Without baseline use data, homeowners cannot tell whether the new layout is working. Even a simple monthly meter log plus short zone notes is enough to identify trend direction and spot failures early. Evidence beats guesswork, especially during the first full summer.
FAQ: Xeriscaping for Beginners
What are the seven principles of xeriscaping?
The standard framework includes planning, soil strategy, practical turf reduction, efficient irrigation, plant grouping by water need, mulching, and maintenance. These principles work as a system, so skipping one usually weakens the others. Treat them as a sequence instead of a checklist you complete once.
How much does xeriscaping cost for a typical front yard?
Costs vary by region, but most budgets are driven by turf removal, irrigation updates, grading, and plant density. Many homeowners reduce risk by converting in phases over one to three seasons. That approach usually delivers better installation quality and fewer expensive do-overs.
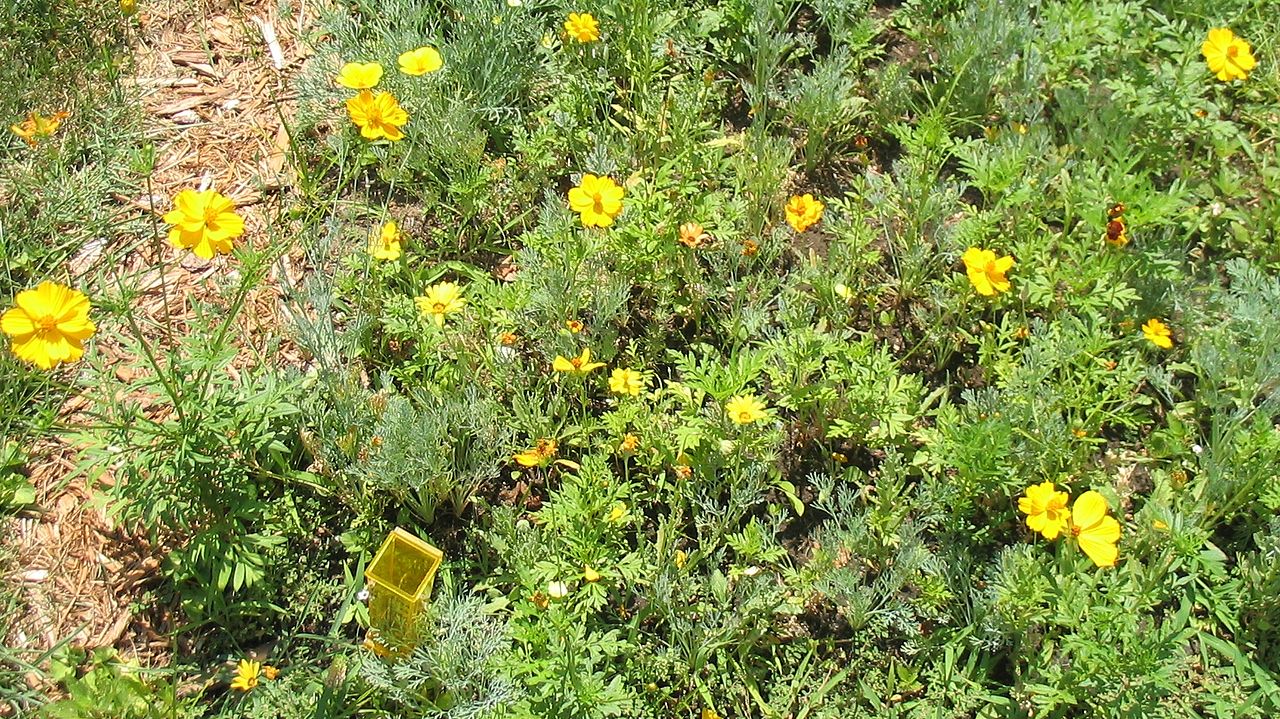
What plants are best for xeriscaping?
The best options are region-adapted species grouped into hydrozones with similar water demand and sun exposure. Native and climate-adapted shrubs, grasses, and perennials generally need less correction watering once established. Plant performance improves when spacing reflects mature size.
Can you xeriscape in clay soil?
Yes, but clay-heavy sites need lower emitter flow rates, careful grading, and stronger mulch discipline to prevent runoff. Infiltration testing and staged runtime cycles are especially useful in these soils. Most failures come from application rate mismatch, not from clay alone.
How do you maintain a xeriscape yard through the year?
Use a seasonal checklist: spring hardware checks, summer zone tuning and weed control, fall mulch and pruning reset, and winter irrigation system review. Small recurring tasks protect water savings better than occasional large cleanups. A documented calendar keeps the system consistent.