Soil Blocking for Seed Starting: How to Grow Stronger, Less Stressed Transplants
Soil blocking for seed starting creates air-pruned root systems that transplant faster and usually show less stall than cell-grown seedlings. The biggest performance gains come from using the right moisture-balanced mix and a repeatable watering schedule, not from the blocker tool alone.
Soil blocking for seed starting replaces plastic cell trays with compressed cubes of seed mix, which helps reduce root circling, lowers transplant shock risk, and can simplify your indoor workflow when space is tight. If you are comparing systems this season, the decision usually comes down to moisture control, labor rhythm, and how consistently you can manage sowing, bottom watering, and pot-up timing across each crop batch.
In this guide, you will get exact mix targets, block sizes by crop, weekly operating routines, and troubleshooting rules that prevent the most common failures: crumbling cubes, damping-off losses, and stalled seedlings after transplant. You will also get a cost and time model so you can decide whether soil blocks fit your growing style better than standard plug trays.
What Is Soil Blocking for Seed Starting, and Why Do Growers Use It?
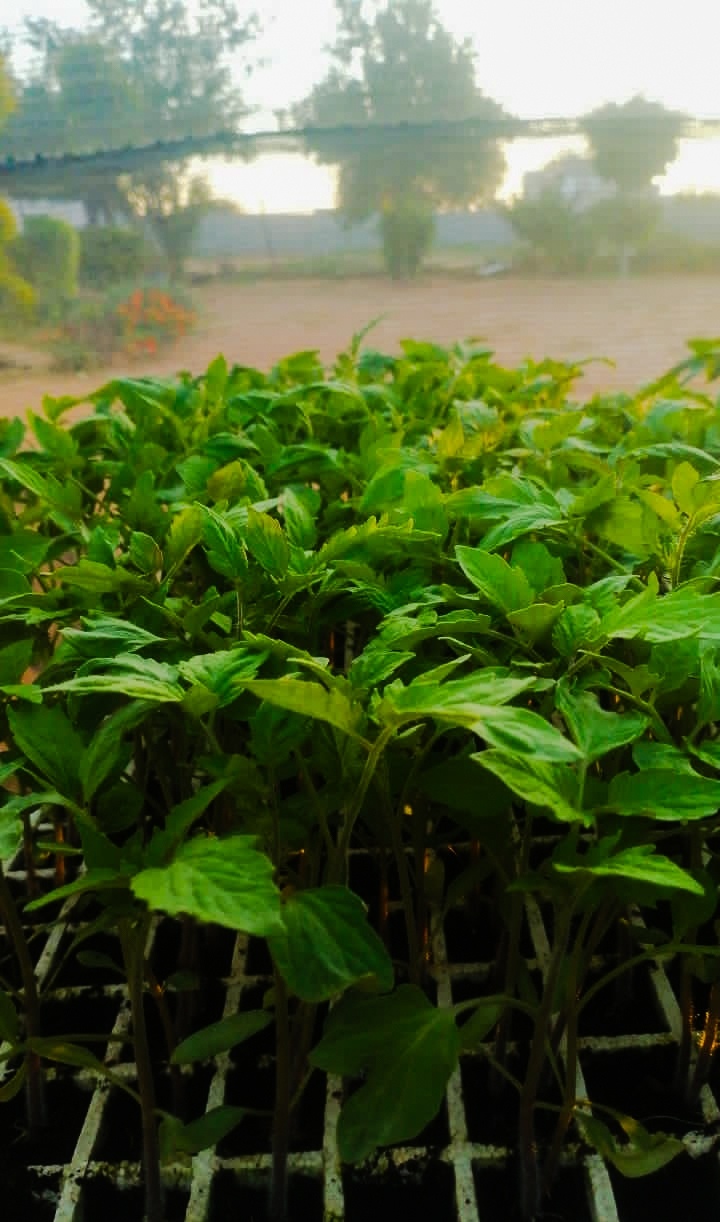
Soil blocking is the process of pressing a moistened soil-block recipe into a mold so each seed starts in a freestanding cube rather than inside a rigid cell. Instead of roots running along a wall and circling, root tips hit air at the cube surface and naturally branch. That branching pattern is why many growers report faster post-transplant recovery and denser root systems in the first two weeks after planting out.
For home gardeners, the operational benefits are equally important. Blocks can reduce plastic use, let you fit more seedlings per tray footprint, and make it easy to move from mini blocks to larger cubes without tearing roots out of a cell pack. The tradeoff is management intensity. Blocks dry faster at the edges than plug cells, so timing and environmental control matter more.
When the system works, it works because process is consistent: screened mix, correct moisture, firm compression, stable airflow, and predictable bottom watering. When it fails, it usually fails from one weak link in that chain. That is why this method rewards repeatable routines more than expensive equipment.
| Factor | Soil Blocks | Plastic Cells | Practical Impact |
|---|---|---|---|
| Root pattern | Air-pruned edges reduce circling | Root spiraling common if held too long | Transplant recovery can be faster with blocks |
| Watering tolerance | Narrower margin, dries faster | Higher margin, moisture holds longer | Blocks need tighter daily checks |
| Plastic use | Lower ongoing tray dependence | Higher dependence on inserts and cells | Blocks reduce disposable plastic purchases |
| Setup speed | Slower at first, faster with practice | Fast for beginners | Learning curve is real in first cycles |
If your schedule includes staged outdoor transitions, pair this method with our harden-off seedlings workflow so improved root structure is not lost to abrupt weather shock.
What Soil Mix Works Best for Soil Blocks for Seedlings?
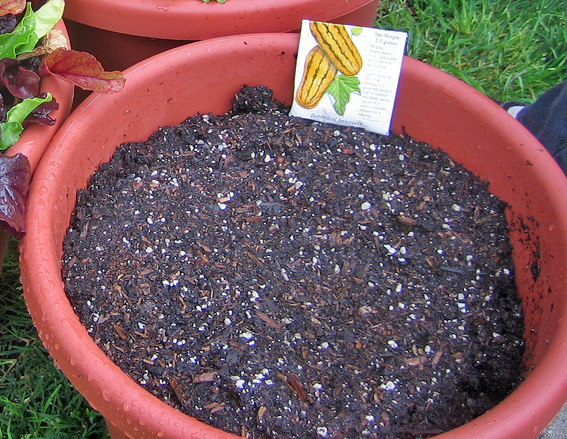
The best-performing mix for soil blocks for seedlings has three traits: cohesion, drainage, and oxygen space. A block should hold shape when lifted, resist collapsing after watering, and still allow fine roots to move through the full cube without staying waterlogged. You get that balance by blending fibrous material, stable compost, and drainage particles in consistent ratios.
Baseline recipe by volume
- 3 parts screened compost (mature, low-salt, no wood chunks)
- 2 parts coco coir or peat for water buffering
- 1 part perlite or coarse horticultural sand for drainage
- Optional: 0.5 part worm castings for early nutrient buffering
Moisture target matters as much as ingredients. The mix should clump when squeezed and release only a few drops of water, not stream. Too dry and blocks crumble at release. Too wet and blocks slump, reducing pore space that roots and beneficial microbes need.
Screening is the quality control step many gardeners skip. Remove sticks, bark pieces, and large clods with a quarter-inch screen. Uniform particle size gives you cleaner block edges and a more predictable sowing depth. If your blocker jams repeatedly, large particles are usually the cause.
For seed vigor and damping-off prevention fundamentals, compare your indoor environment against guidance from University of Minnesota Extension and Penn State Extension.
Which Block Size Should You Use by Crop and Timeline?
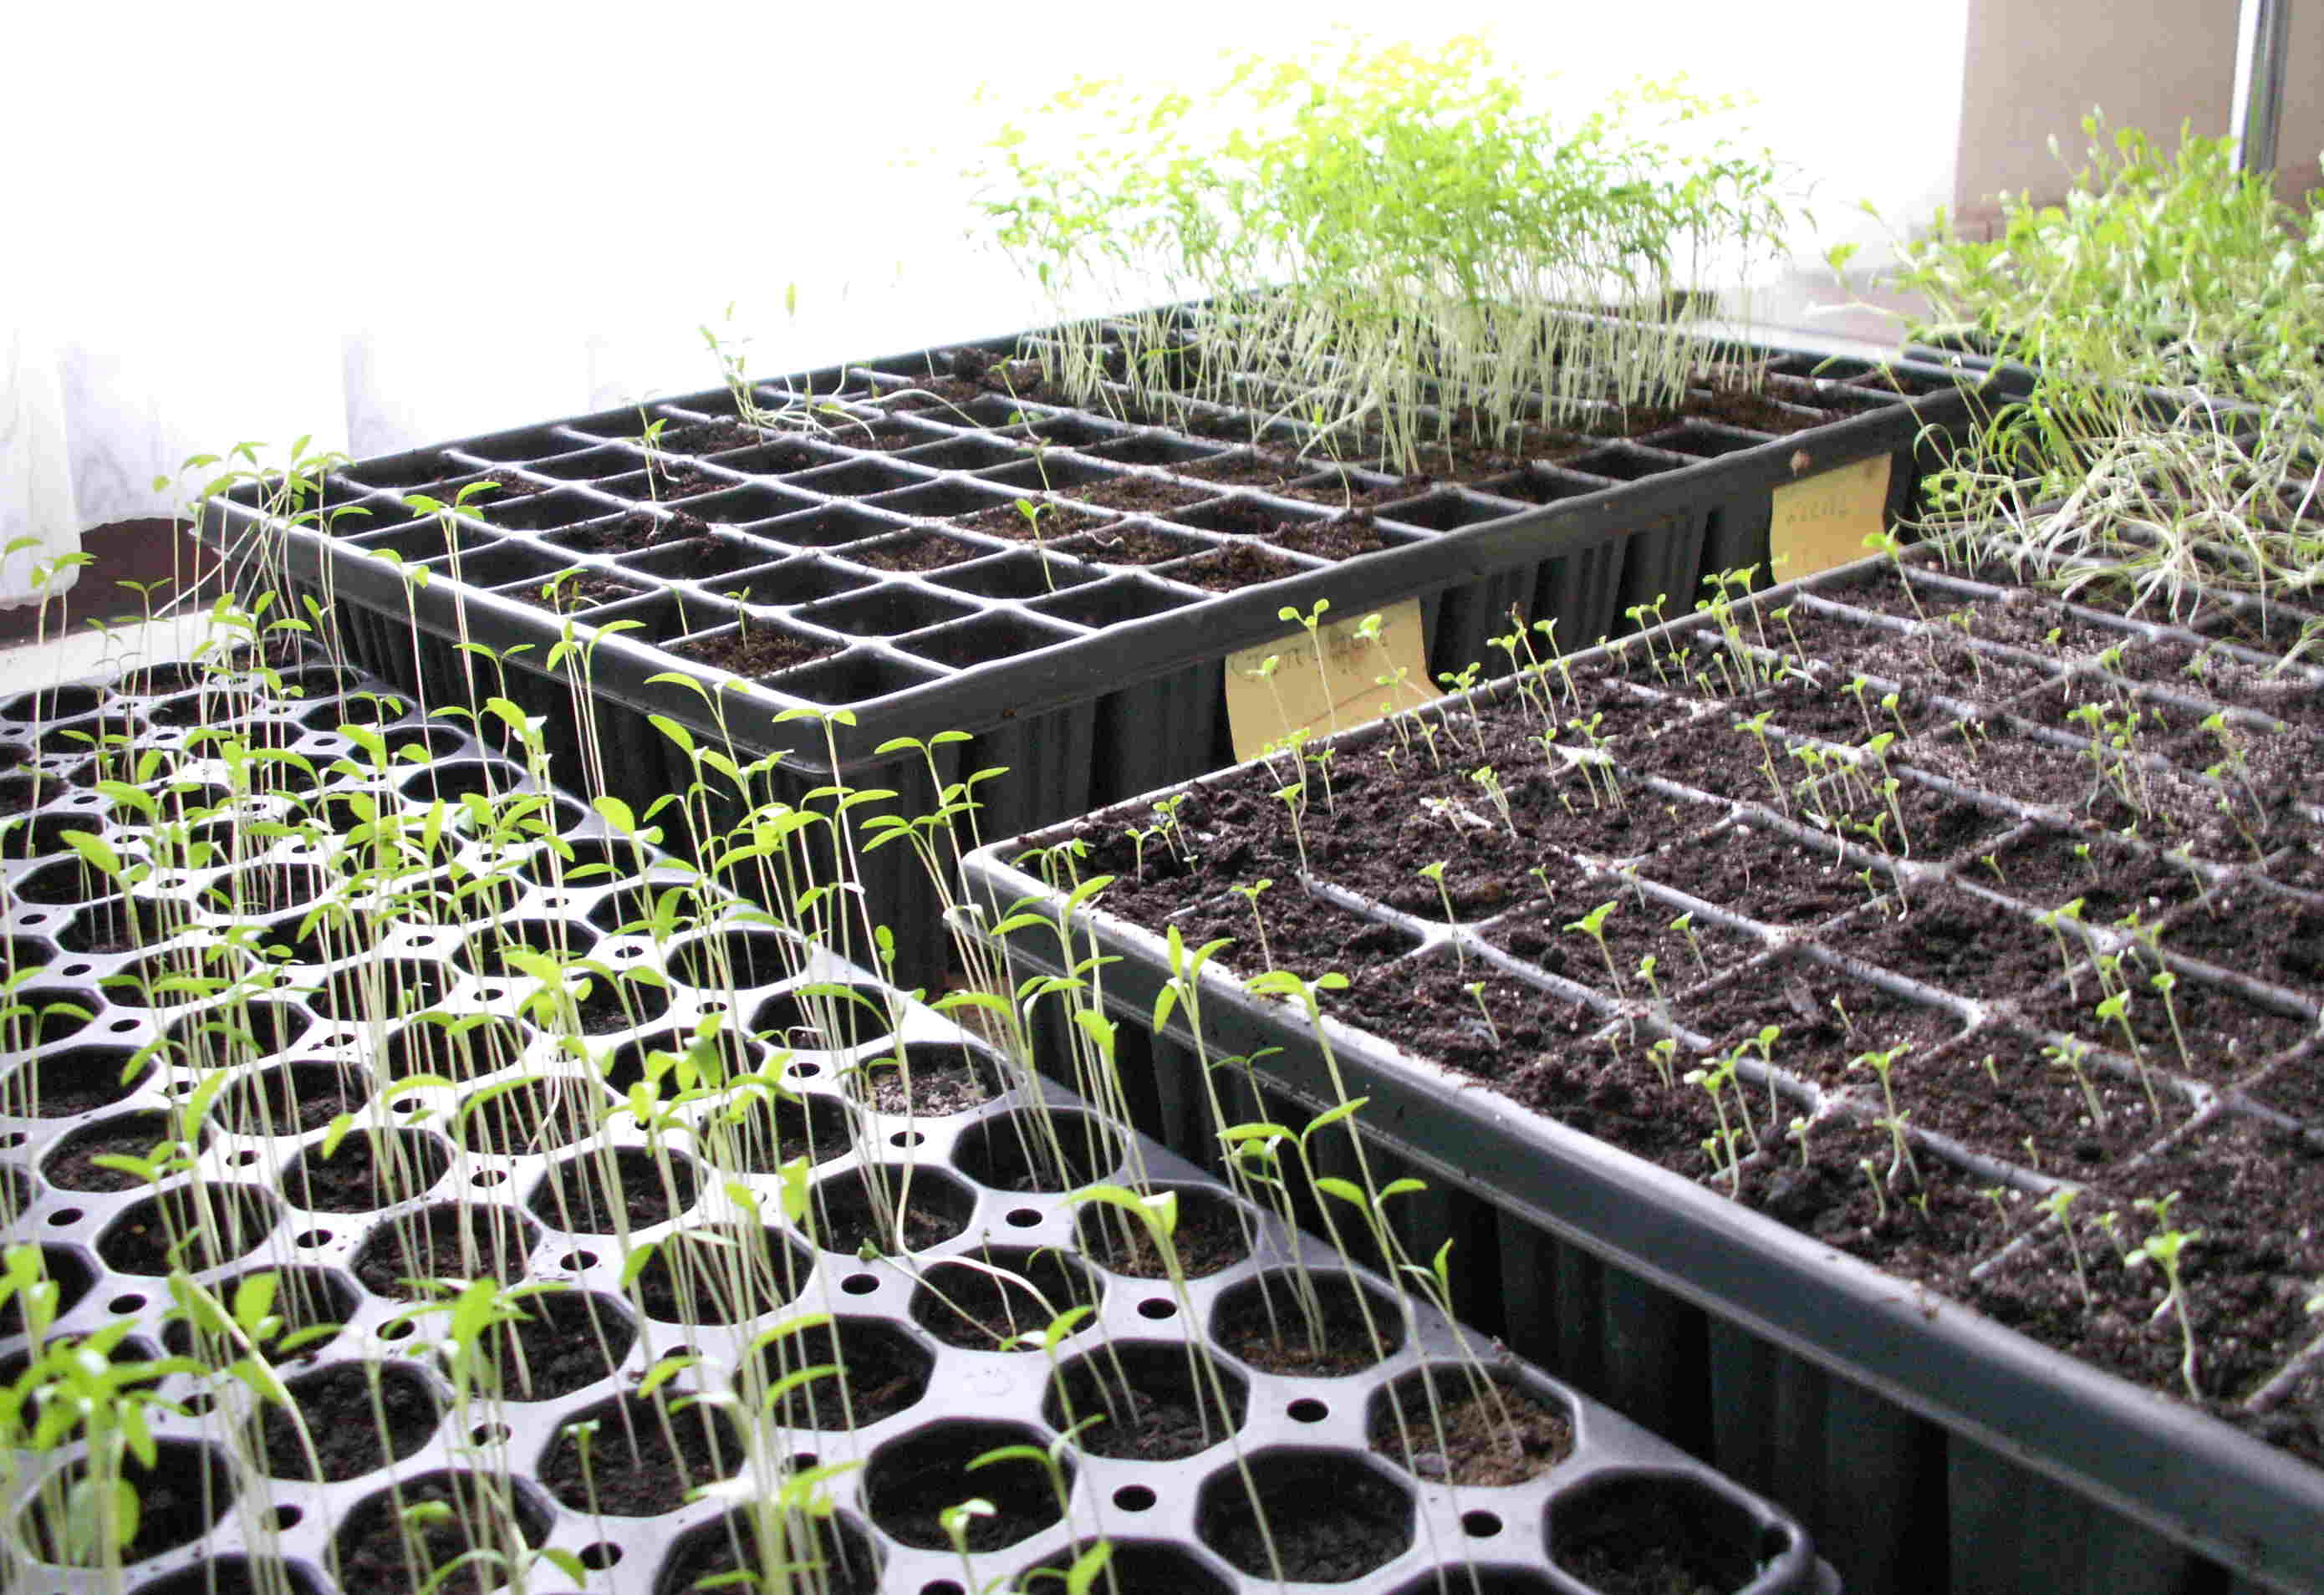
Block size decisions control your whole production cadence. Mini blocks are efficient for high seed counts, but they demand quicker pot-up timing. Larger blocks cost more mix per seed but buy extra buffer days when weather delays transplanting. The right choice depends on crop speed, indoor light quality, and how often you can manage trays.
Common block sizes and use cases
| Block Size | Best For | Typical Hold Time | Pot-Up Trigger |
|---|---|---|---|
| 0.75 inch mini | Lettuce, basil, onion starts, high-volume sowing | 7-12 days | First true leaves and visible edge roots |
| 1.5 inch standard | Tomatoes, peppers, brassicas, flowers | 14-24 days | Roots visible on multiple sides |
| 2.0 inch large | Longer holds, weather-delay buffer | 18-30 days | Before canopy crowding and height stretch |
| 4.0 inch pot-up block | Tomato and pepper up-sizing before final transplant | 2-4 weeks | Final hardening phase begins |
A practical system for mixed gardens is mini-to-standard nesting: germinate in mini blocks, then insert into 1.5 inch blocks once true leaves emerge. This cuts mix waste early while maintaining root integrity during the first upsize step.
If your planning starts from frost windows, align hold times with our seed starting calendar by zone so block sizing supports, rather than fights, your transplant schedule.
How Often Should You Water Soil Blocks Without Causing Damping-Off?
Watering is the highest-skill part of soil blocking for seed starting. Because cube surfaces are exposed, they lose water faster than enclosed cells. The correct approach is usually bottom watering in short cycles, followed by full drainage and airflow. Top misting has a role during germination but should not be your primary method once roots establish.
Most home setups settle into a 24- to 48-hour rhythm, but frequency should follow block condition rather than clock time. Watch for three indicators: color shift (dark to medium brown), reduced surface sheen, and slight weight drop in the tray. Water when two of these are present.
Bottom-watering operating rule
- Add 0.25 to 0.5 inch of water to the tray base.
- Allow blocks to wick moisture for 8 to 15 minutes.
- Drain standing water completely.
- Run gentle airflow for 30 to 60 minutes.
Damping-off risk rises when surfaces stay wet and air movement is weak. A small fan set to indirect flow usually reduces losses more effectively than fungicide interventions in small indoor systems. Nighttime humidity control is especially important for dense sowings.
Decision shortcut: if block edges stay dark all day, you are overwatering; if corners crack before midday, you are underwatering or airflow is too aggressive.
For broader moisture planning once transplants move outdoors, tie this indoor routine to your spring irrigation audit and mulch-based evaporation control.
What Weekly Workflow Makes DIY Soil Blocker Systems Reliable?
A DIY soil blocker setup succeeds when tasks are batched and calendar-driven. Instead of making blocks every day, run one prep day and one maintenance pass each day for inspection and watering. This reduces misses and keeps labor predictable, especially if you are managing multiple crops with different speeds.
Weekly operating cadence
Day 1: Screen mix, pre-moisten, press blocks, sow, label with sow date and crop code. Record expected germination windows.
Days 2-5: Keep germination conditions stable and monitor moisture twice daily. Remove domes promptly once 50 percent of seeds emerge to reduce fungal pressure.
Days 6-10: Shift to light-intensity management, rotate trays for even growth, and begin low-dose airflow all day.
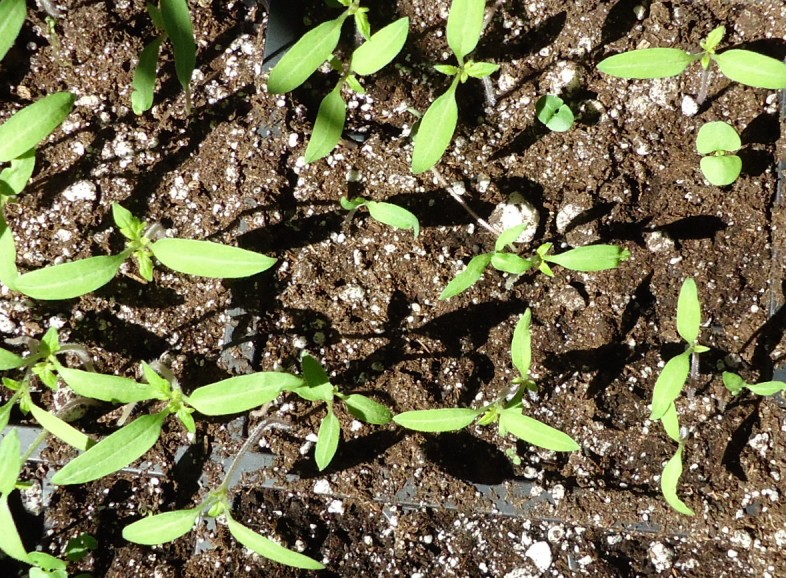
Days 10-21: Pot up when true leaves and root-edge cues align. Do not wait for visible stress signs such as pale growth or stretch.
Use a simple log with four fields: sow date, emergence date, pot-up date, and transplant date. After one season, this log gives better forecasting accuracy than generic packet ranges and helps you tune block size per crop.
| Checkpoint | What to Measure | Pass Threshold | Action if Failed |
|---|---|---|---|
| Germination pace | Percent emergence by expected window | At least 70 percent by target day | Adjust sow depth and mat temperature |
| Moisture stability | Edge integrity through midday | No cracking and no standing water | Modify watering interval and airflow |
| Root development | Edge root visibility | Fine root tips on 2 or more sides | Advance pot-up by 2 to 3 days |
| Canopy quality | Stem thickness and color | Compact stems, uniform green leaves | Increase light intensity or reduce crowding |
Are Soil Blocks Better Than Seed Trays for Cost, Time, and Results?
Whether soil blocks are better than seed trays depends on which resource you are optimizing: money, plastic waste, or labor hours. Up-front tool cost for blockers is usually modest, but the hidden cost is attention. If you can monitor trays daily, blocks often deliver stronger transplant quality. If you need longer unattended windows, trays can be more forgiving.
Home-scale comparison scenario
For a 200-seed season, a typical block setup can cut recurring plastic cell purchases and lower replacement waste. Time cost is front-loaded in block making, then offset by cleaner pot-up handling because roots are less entangled. Many growers report that the first season is break-even on time, and later seasons are faster after process standardization.
Yield impact is less about the tool and more about transplant stress. If blocks reduce root binding and improve early root branching, seedlings can establish quicker after planting. Faster establishment often means fewer lost days in spring windows when weather shifts rapidly.
For climate planning context, USDA zone data is still useful for transplant timing baselines; see the USDA Plant Hardiness Zone Map for region-level context, then pair it with local frost history for week-level actions.
What Mistakes Cause Soil Blocks to Fail, and How Do You Fix Them Fast?
Most failures are reversible if you diagnose quickly. Crumbling blocks, algae films, and uneven germination are usually process signals, not total system failures. Keep interventions simple and measured rather than changing five variables at once.
High-frequency failure modes
- Blocks crumble at release: mix too dry or particles too coarse; add moisture and re-screen.
- Blocks slump after watering: mix too wet or too much fine compost; blend extra drainage material.
- Seedlings stretch: light intensity too low or crowding too high; reduce density and lower light height.
- Green algae on surface: persistent surface wetness; shorten soak time and increase airflow.
- Transplant stall: pot-up/transplant delayed past root-edge stage; move up schedule window.
When failures repeat, run a one-tray test instead of changing the entire bench. Controlled A/B testing with small batches gives faster answers than full-system resets and helps avoid losing an entire sowing week.
If you are also managing mixed vegetable layouts outdoors, use the same intervention mindset from companion planting planning: one change at a time, then measure outcomes before scaling.
FAQ: Soil Blocking for Seed Starting
What is soil blocking for seed starting?
Soil blocking for seed starting is the practice of compressing moistened seed mix into freestanding cubes instead of filling plastic cells. The exposed cube edges air-prune roots, which helps reduce root circling and transplant shock.
What soil mix works best for soil blocks?
A high-performing mix usually combines screened compost, coconut coir or peat, and drainage material like perlite or coarse sand. The key is moisture consistency that lets the block hold shape without turning muddy.
How often should you water soil blocks?
Most growers do best with bottom watering when block color lightens and top surfaces lose their sheen, often every 1 to 2 days depending on room conditions. Blocks should stay evenly damp, not saturated.
Are soil blocks better than seed trays?
Soil blocks can outperform trays when your process is consistent, especially for transplant quality and plastic reduction. Trays are still easier for beginners who need longer moisture hold and less frequent monitoring.
When should you pot up soil block seedlings?
Pot up when roots are visible on block edges and true leaves are established, before stems stretch or growth stalls. For many vegetables this occurs 10 to 21 days after germination, depending on crop and temperature.
Related Guides
Sources
- Starting Seeds Indoors (University of Minnesota Extension)
- Starting Seeds Indoors (Penn State Extension)
- USDA Plant Hardiness Zone Map (USDA ARS)